7 Steps to Make Perfect Italian Rainbow Cookies – Easy Step-by-Step Recipe

Imagine the joy of biting into a vibrant, layered Italian Rainbow Cookie, with its perfect balance of almond flavor, rich chocolate coating, and colorful layers that remind you of a festive celebration. Whether you’re a seasoned baker or a beginner, this recipe will guide you through creating these iconic cookies that are as beautiful as they are delicious. Let’s bring a taste of Italy into your kitchen!
Table of Contents
What Are Italian Rainbow Cookies?
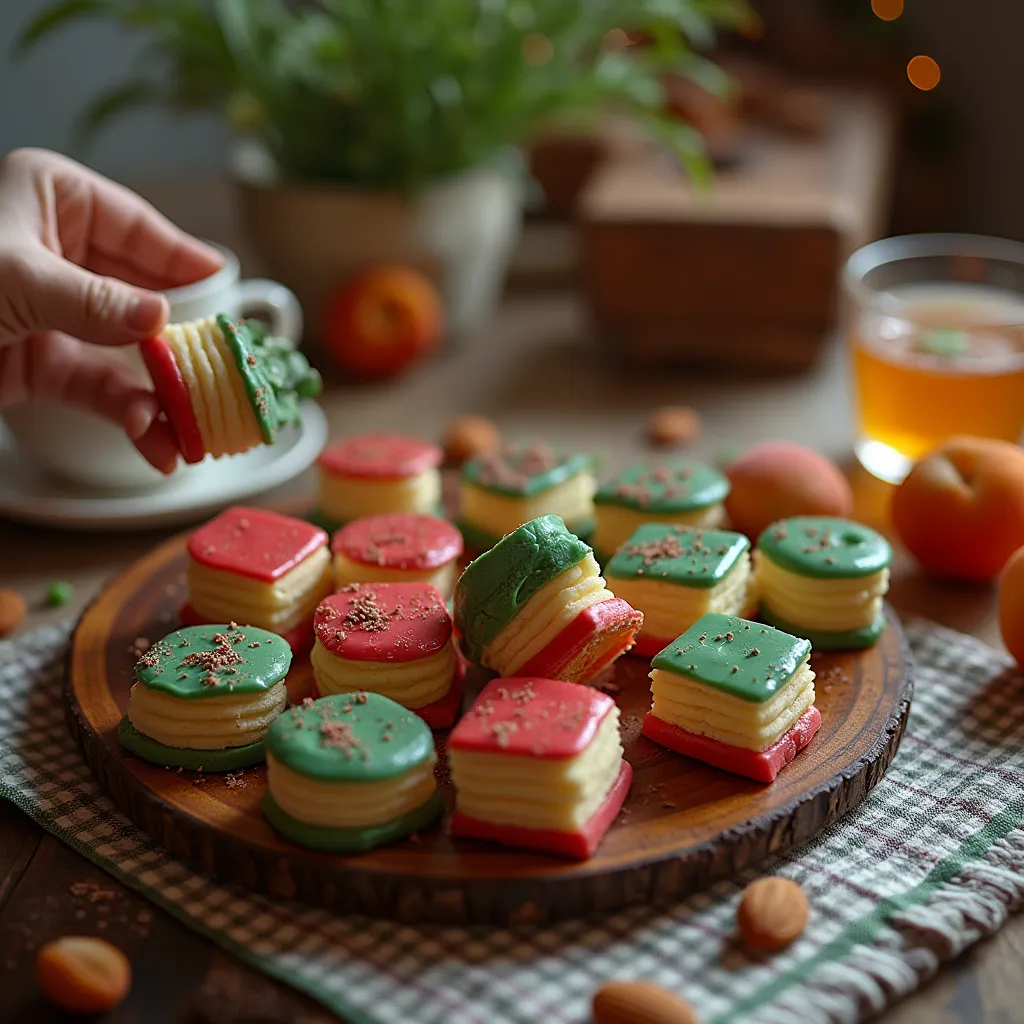
Italian Rainbow Cookies, also known as Tricolore Cookies or Venetian Cookies, are a classic Italian-American dessert. These cookies are famous for their three vibrant layers—typically red, green, and white—representing the colors of the Italian flag. Each layer is infused with almond flavor, separated by a thin spread of jam, and coated in a smooth layer of chocolate.
These cookies are a staple at holidays, weddings, and special occasions, but they’re also perfect for any time you want to add a little color and sweetness to your day.
Why You’ll Love This Recipe
Making Italian Rainbow Cookies might seem intimidating at first, but this recipe breaks it down into simple, easy-to-follow steps. Here’s why you’ll love it:
- Beginner-friendly: Clear instructions and tips ensure success, even if you’re new to baking.
- Customizable: Choose your favorite colors and jam flavors to make these cookies your own.
- Impressive results: These cookies look and taste like they came from a professional bakery.
- Perfect for gifting: Pack them in a beautiful box, and they’ll make a thoughtful homemade gift.
Ingredients You’ll Need
Before you start, gather all your ingredients. Here’s a detailed list to ensure you have everything on hand:
| Ingredient | Quantity | Notes |
|---|---|---|
| Almond paste | 8 oz | Key for authentic flavor |
| Unsalted butter | 1 cup | Softened |
| Granulated sugar | 1 cup | |
| Eggs | 4 large | Separated |
| All-purpose flour | 2 cups | |
| Salt | 1/4 tsp | |
| Food coloring | Red, Green | Gel-based for vibrant colors |
| Semi-sweet chocolate | 8 oz | For coating |
| Apricot or raspberry jam | 1/2 cup | For layering |
Tools and Equipment
Having the right tools makes the process smoother. Here’s what you’ll need:
- Mixing bowls
- Electric mixer
- 9×13-inch baking pan
- Parchment paper
- Offset spatula
- Double boiler (for melting chocolate)
7 Easy Steps to Make Perfect Italian Rainbow Cookies
Step 1 – Prepare the Almond Batter
- In a large mixing bowl, cream together the almond paste, softened butter, and granulated sugar until smooth.
- Add the egg yolks one at a time, mixing well after each addition.
- Gradually fold in the flour and salt until just combined.
- In a separate bowl, beat the egg whites until stiff peaks form.
- Gently fold the egg whites into the almond batter to keep it light and airy.
Step 2 – Divide and Color the Batter
- Divide the batter evenly into three separate bowls.
- Add red gel food coloring to one bowl and green to another. Leave the third bowl plain for the white layer.
- Mix each portion until the colors are vibrant and evenly distributed.
Step 3 – Bake the Layers
- Preheat your oven to 350°F (175°C).
- Line three 9×13-inch baking pans with parchment paper.
- Spread each colored batter into its own pan, smoothing the top with an offset spatula.
- Bake for 10-12 minutes, or until the layers are set and a toothpick inserted into the center comes out clean.
- Let the layers cool completely in the pans before assembling.
Step 4 – Assemble the Layers
- Place the green layer on a flat surface or a large cutting board.
- Spread a thin, even layer of apricot or raspberry jam over the top.
- Carefully place the plain (white) layer on top of the jam-covered green layer.
- Spread another layer of jam over the white layer.
- Top with the red layer, pressing gently to ensure the layers stick together.
Step 5 – Weight and Chill
- Place a heavy pan or a stack of books on top of the assembled layers to compress them.
- Refrigerate for at least 4 hours, or preferably overnight. This step is crucial for easy slicing later.
Step 6 – Coat with Chocolate
- Melt the semi-sweet chocolate in a double boiler or microwave, stirring until smooth.
- Remove the chilled cake from the refrigerator and trim the edges for clean lines.
- Spread a thin layer of melted chocolate over the top and sides of the cake using an offset spatula.
- Let the chocolate set at room temperature or in the refrigerator.
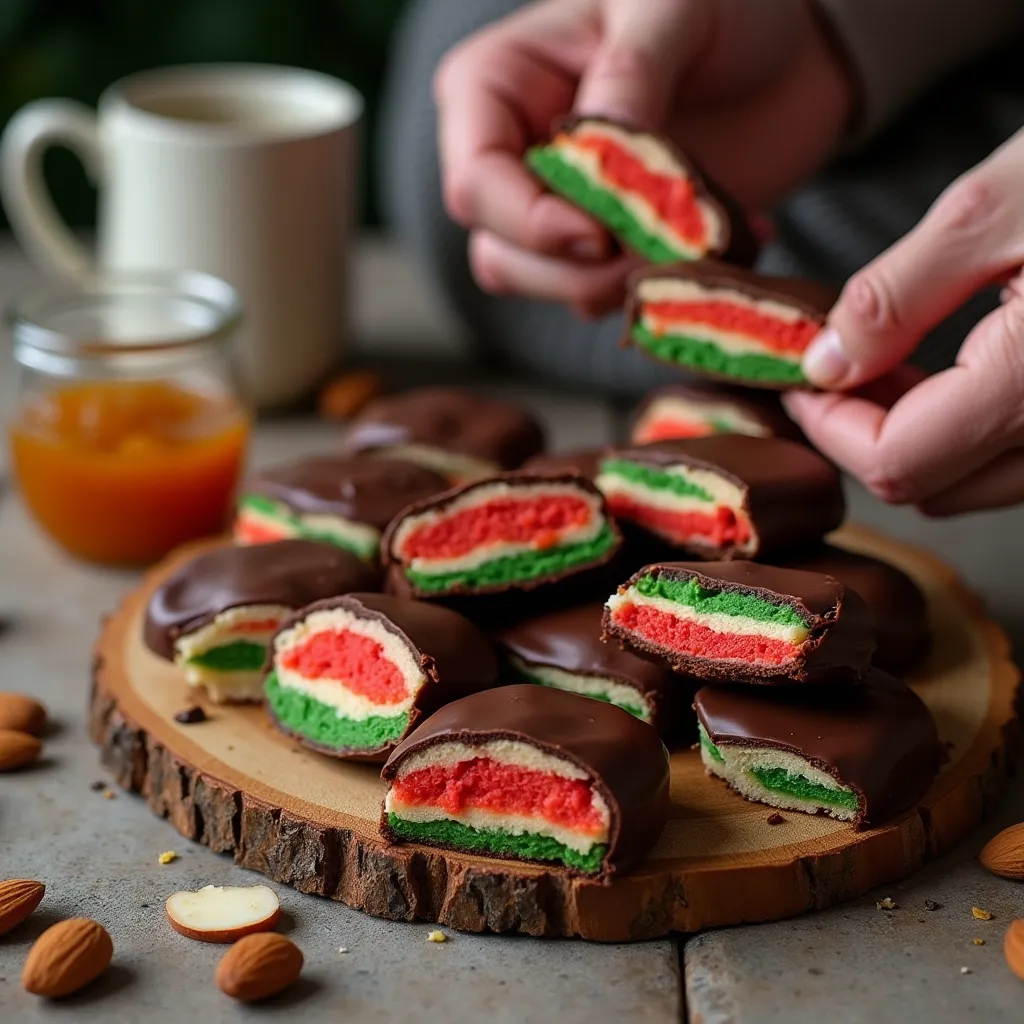
Step 7 – Slice and Serve
- Once the chocolate has hardened, cut the cake into small rectangles or squares.
- Serve immediately or store in an airtight container.
Tips for Perfect Italian Rainbow Cookies
- Use gel food coloring: Gel-based colors are more vibrant and won’t alter the batter’s consistency.
- Chill thoroughly: This ensures clean cuts and prevents the layers from sliding apart.
- Trim the edges: Neat edges make the cookies look professional and polished.
- Experiment with flavors: Try different jams, such as raspberry or strawberry, for a unique twist.
Frequently Asked Questions (FAQ)
Can I freeze Italian Rainbow Cookies?
Yes, they freeze well for up to 2 months. Wrap them tightly in plastic wrap and store in an airtight container.
Can I use marzipan instead of almond paste?
While marzipan is sweeter, it can be used as a substitute. Adjust the sugar in the recipe accordingly.
How long do Italian Rainbow Cookies last?
Store them in an airtight container at room temperature for up to 1 week or refrigerate for up to 2 weeks.
Can I use different colors for the layers?
Absolutely! Customize the colors to match your theme or occasion.
Conclusion
Italian Rainbow Cookies are more than just a treat—they’re a labor of love that brings joy to every bite. With this easy step-by-step recipe, you can recreate this classic dessert at home and impress your family and friends. Whether it’s for a holiday, a special event, or just because, these cookies are sure to brighten any day.
So, roll up your sleeves, gather your ingredients, and let’s make some magic in the kitchen! Don’t forget to share your creations with us in the comments below or tag us on social media. Happy baking!