7 Delightful Ways to Make Chocolate Covered Apples at Home
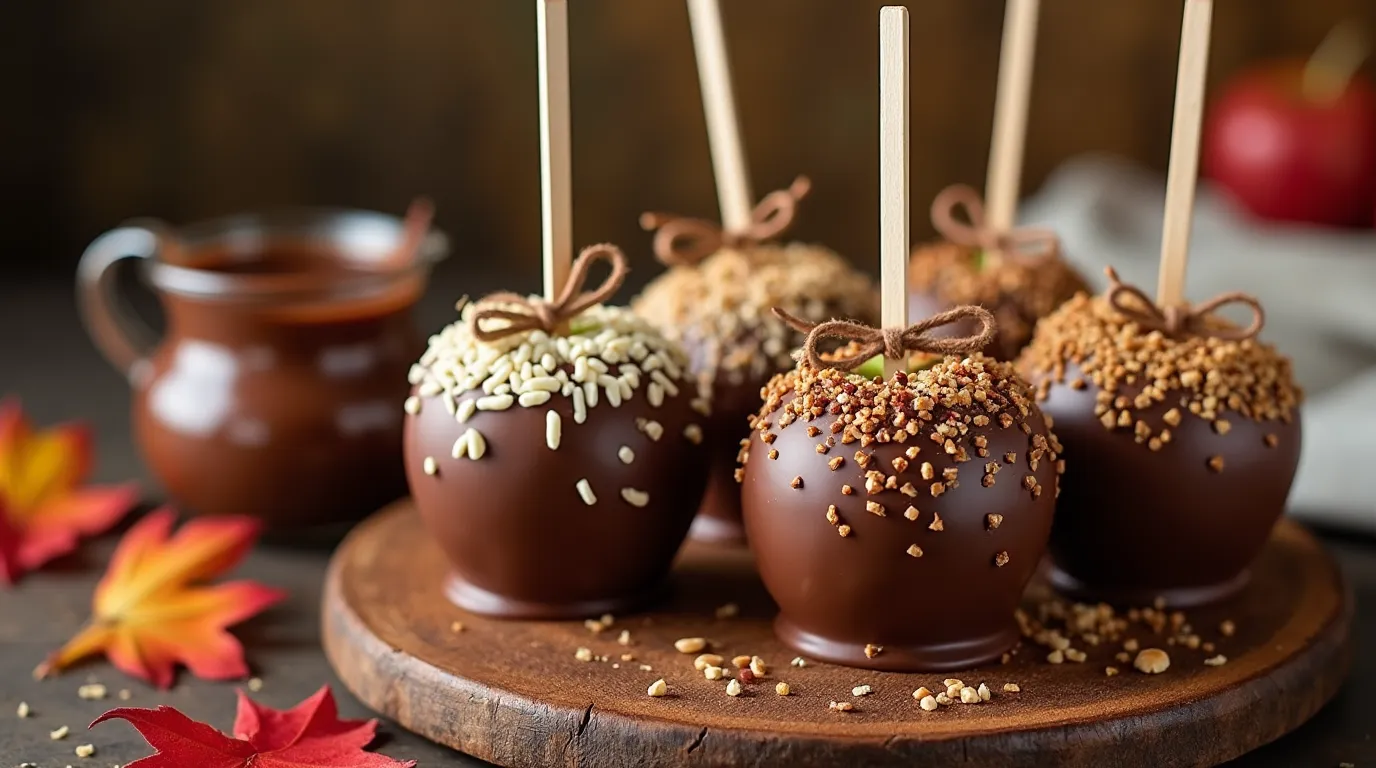
There’s something magical about the perfect chocolate covered apples. The crisp, fresh bite of the apple contrasts so beautifully with the rich, velvety chocolate, creating an indulgent treat that everyone can enjoy. Whether you’re preparing a treat for a family gathering, making a fun snack with the kids, or looking to impress your friends, learning how to make chocolate-covered apples at home is a rewarding experience. Not only is it easy to prepare, but it’s also a fantastic way to get creative with your flavors and toppings.
In this guide, you’ll learn everything you need to know to create your very own chocolate-covered apples at home, from selecting the best ingredients to perfecting the dipping technique. So, grab your apples, and let’s dive into this delicious adventure!
Table of Contents
Ingredients You’ll Need to Make Chocolate Covered Apples
Before you start, it’s important to gather the right ingredients. You don’t need anything fancy—just a few simple items to help you create the perfect chocolate covered apples.
Apples
The star of the show! For the best results, you’ll want to use a firm apple that’s crisp, fresh, and slightly tart. Popular choices include:
- Granny Smith: These are perfect for chocolate covered apples because of their tartness, which balances out the sweetness of the chocolate.
- Gala: A sweeter option with a tender texture that pairs well with both milk and dark chocolate.
- Honeycrisp: Known for their balanced sweetness and crisp texture, Honeycrisp apples make for an excellent base.
Chocolate
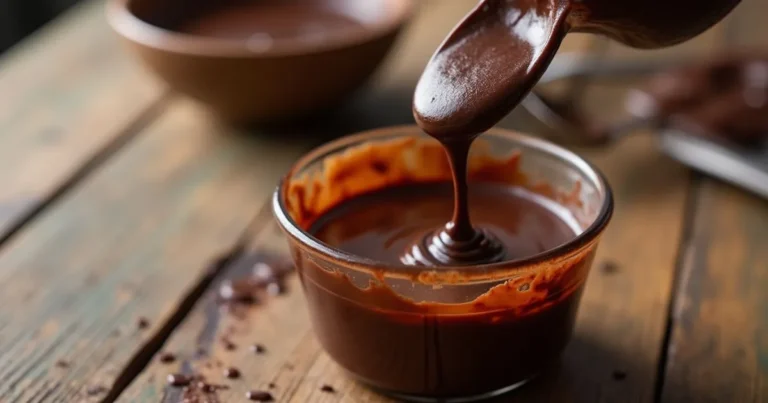
The type of chocolate you use plays a major role in the flavor profile of your chocolate covered apples. You can choose from dark chocolate, milk chocolate, or white chocolate—each one provides a unique taste. Here’s a breakdown:
- Dark Chocolate: Ideal if you prefer a richer, slightly bitter chocolate flavor that pairs perfectly with the tartness of the apples.
- Milk Chocolate: For those who enjoy a sweeter and creamier taste, milk chocolate is the go-to option.
- White Chocolate: If you’re after a sweeter, smooth coating with a bit of a vanilla flavor, white chocolate is a great choice.
Toppings (Optional)
While the chocolate is the main feature, toppings can elevate your apple game. Here are some popular options:
- Crushed nuts (almonds, peanuts, or walnuts)
- Sprinkles or colored sugar
- Crushed cookies or candy (Oreos, M&Ms, or toffee bits)
- Shredded coconut
- Mini marshmallows
Wooden Sticks or Skewers
To make dipping easier and mess-free, you’ll need sticks or skewers. You can find these in most grocery stores, or you can even use wooden craft sticks if you’re in a pinch.
Coconut Oil or Butter
A small amount of coconut oil or butter helps smooth the melted chocolate, ensuring a smooth, even coating on your apples.
Step-by-Step Guide on How to Make Chocolate Covered Apples
Preparing the Apples
First things first, prepare your apples to ensure the chocolate adheres properly. Here’s how:
- Wash and Dry: Apples often have a wax coating, which can make it difficult for the chocolate to stick. Wash the apples thoroughly under cold water to remove any wax or residue. Once clean, dry them completely using a towel.
- Insert the Sticks: Gently insert a wooden stick or skewer into the center of the apple, ensuring it’s securely placed but not too deep. The stick should allow you to dip the apple easily without it falling off.
Melting the Chocolate
The next step is melting the chocolate. You have two methods to choose from:
- Double Boiler Method: This is the most effective way to melt chocolate smoothly and evenly. Fill a small pot with water and bring it to a simmer. Place a heatproof bowl on top of the pot, making sure the bowl doesn’t touch the water. Add your chopped chocolate to the bowl, stirring occasionally until it’s fully melted. You can also add 1-2 tablespoons of coconut oil or butter to help the chocolate melt more smoothly.
- Microwave Method: If you don’t have a double boiler, you can easily melt the chocolate in the microwave. Place your chopped chocolate into a microwave-safe bowl. Heat it in 20-second intervals, stirring in between each round until the chocolate is smooth and fully melted.
Dipping the Apples
Once your chocolate is melted, it’s time to dip the apples. Hold the stick and dip the apple into the chocolate, swirling it around until it’s completely coated. If you like a thicker coating, let the excess chocolate drip off, and then dip again. Set the dipped apple on a piece of parchment or wax paper to cool and harden.
Adding Toppings
This is where you can get creative! While the chocolate is still wet, roll or sprinkle your toppings over the apple. Here are some ideas for fun and delicious variations:
- Roll the apple in crushed nuts like almonds or peanuts for a crunchy contrast.
- Add some colorful sprinkles for a festive touch.
- Dip the apple in crushed Oreo cookies or candy bits for an extra layer of sweetness.
How to Store Chocolate Covered Apples
Once you’ve made your chocolate covered apples, it’s essential to store them properly to maintain their freshness.
Refrigerating
If you want the chocolate to harden quickly and stay fresh for a longer period, place your chocolate covered apples in the refrigerator. Lay them on a piece of parchment paper and place them in an airtight container. They will stay fresh for 1-2 days.
Storing at Room Temperature
If you plan to enjoy the apples within a few hours, you can store them at room temperature. Just keep them in a cool, dry place in an airtight container to prevent the chocolate from melting.
Variations on the Classic Chocolate Covered Apple Recipe
Once you’ve mastered the basic chocolate covered apple recipe, it’s time to experiment with different flavors and coatings. Here are some fun variations to try:
Caramel-Coated Chocolate Apples
For an extra indulgent treat, try adding a layer of caramel before dipping the apples in chocolate. Melt some caramel and drizzle it over the apple before coating it with chocolate. This adds an extra level of sweetness and flavor.
Chocolate and Peanut Butter Apples
For peanut butter lovers, swirl some peanut butter into your melted chocolate before dipping your apple. The rich, creamy peanut butter complements the chocolate and gives your apple a unique twist.
Holiday-Themed Apples
Get creative with holiday-inspired toppings. For Christmas, roll your apples in crushed candy canes or sprinkle edible glitter on top for a festive touch. For Halloween, use orange and black sprinkles or roll the apples in chopped nuts for a spooky look.
Why Make Chocolate Covered Apples at Home?
Making chocolate covered apples at home has several advantages. Here’s why you should give it a try:


- Customization: One of the best things about making these treats at home is the freedom to customize. You get to choose your favorite type of chocolate, toppings, and the thickness of the coating. The possibilities are endless!
- Fun and Interactive: Making chocolate-covered apples is a fun activity for all ages. It’s a great way to spend quality time with family and friends, allowing everyone to get involved in the process.
- Fresh and Delicious: Homemade chocolate-covered apples are always fresher than store-bought options. You can taste the difference in the chocolate and toppings, ensuring that your treat is always the best it can be.
FAQ: Common Questions About Chocolate Covered Apples
Q1: Can I use any type of apple for chocolate covered apples?
While you can use any apple, tart apples like Granny Smith or Gala work best. Their firm texture and tart flavor provide the perfect contrast to the sweetness of the chocolate.
Q2: How long do chocolate-covered apples last?
Chocolate covered apples can last 1-2 days at room temperature or up to a week if refrigerated. Be sure to store them in an airtight container.
Q3: Can I use white chocolate for my chocolate covered apples?
Yes, white chocolate is a delicious choice for those who prefer a sweeter, creamier coating. It pairs wonderfully with both tart and sweet apples.
Q4: Can I make chocolate covered apples in advance?
Absolutely! You can make them in advance and store them properly in the fridge or at room temperature depending on when you plan to eat them.
Conclusion: Your Perfect Chocolate Covered Apples Await!
Now that you know how to make chocolate covered apples at home, it’s time to get creative! Whether you’re making them for a special occasion, a family gathering, or just because you’re craving something sweet, these chocolate-covered apples are sure to impress. The beauty of this recipe lies in its simplicity, yet the options for customization are limitless.
So, grab your apples, pick your favorite chocolate, and start dipping! We promise you’ll have a blast creating these decadent treats—and they’ll taste even better when shared with the people you love.

