10 Easy Steps to Make Perfect Baked Apple Fritters at Home
There’s something magical about the aroma of baked apple fritters wafting through the kitchen—warm, sweet, and comforting. Whether it’s a cozy weekend morning or a special treat for your loved ones, baked apple fritters bring joy to every bite. But what if I told you that making these golden, crispy delights at home is easier than you think? In this guide, I’ll walk you through 10 easy steps to make perfect baked apple fritters at home, so you can enjoy this classic treat without the hassle of deep frying. Let’s get started!
Table of Contents
Why Choose Baked Apple Fritters?
If you’ve ever hesitated to make apple fritters because of the mess and calories associated with deep frying, baking is the perfect solution. Here’s why baked apple fritters deserve a spot in your recipe collection:
- Healthier Option: Baking significantly reduces the oil content, making these fritters a lighter alternative to the traditional fried version.
- Easier Cleanup: Say goodbye to greasy countertops and lingering oil smells. Baking is mess-free and hassle-free.
- Perfect Texture: When done right, baked apple fritters have a crispy exterior and a soft, fluffy interior that’s just as satisfying as their fried counterparts.
- Versatile Treat: These fritters are perfect for breakfast, dessert, or even a midday snack. Pair them with coffee, tea, or a glass of milk for a delightful treat.
Ingredients You’ll Need for Baked Apple Fritters
Before diving into the steps, let’s gather everything you’ll need. Here’s a detailed list of ingredients to ensure your baked apple fritters turn out perfectly:
Baked Apple Fritters Recipe Ingredients
| Ingredient | Quantity | Notes |
|---|---|---|
| All-purpose flour | 2 cups | For the base of the batter |
| Baking powder | 2 tsp | Helps the fritters rise |
| Cinnamon | 1 tsp | Adds warmth and flavor |
| Nutmeg | 1/4 tsp | Enhances the apple flavor |
| Salt | 1/4 tsp | Balances sweetness |
| Milk | 1 cup | Creates a smooth batter |
| Eggs | 2 | Binds the ingredients |
| Sugar | 1/2 cup | Adds sweetness |
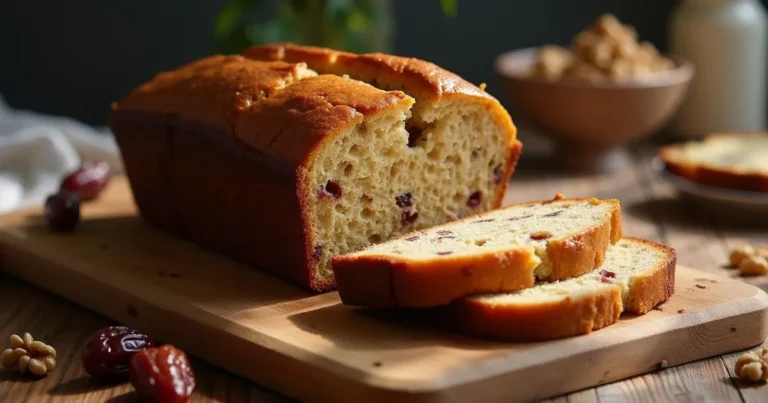
| Apples (peeled & diced) | 2 medium | Use Granny Smith or Honeycrisp |
| Butter (melted) | 2 tbsp | Adds richness to the batter |
| Vanilla extract | 1 tsp | Enhances overall flavor |
Step-by-Step Guide to Making Baked Apple Fritters
Now that you’ve got your ingredients ready, let’s dive into the process. Follow these 10 easy steps to create perfect baked apple fritters at home:
Step 1: Preheat Your Oven and Prepare the Pan
Start by preheating your oven to 375°F (190°C). This ensures your fritters bake evenly. Line a baking sheet with parchment paper or a silicone mat to prevent sticking and make cleanup a breeze.
Step 2: Mix the Dry Ingredients
In a large bowl, whisk together 2 cups of all-purpose flour, 2 teaspoons of baking powder, 1 teaspoon of cinnamon, 1/4 teaspoon of nutmeg, and 1/4 teaspoon of salt. This combination creates the perfect base for your fritters, ensuring they’re flavorful and well-structured.
Step 3: Combine the Wet Ingredients
In a separate bowl, mix 1 cup of milk, 2 eggs, 1/2 cup of sugar, 2 tablespoons of melted butter, and 1 teaspoon of vanilla extract. Whisk until the mixture is smooth and well-combined.
Step 4: Create the Batter
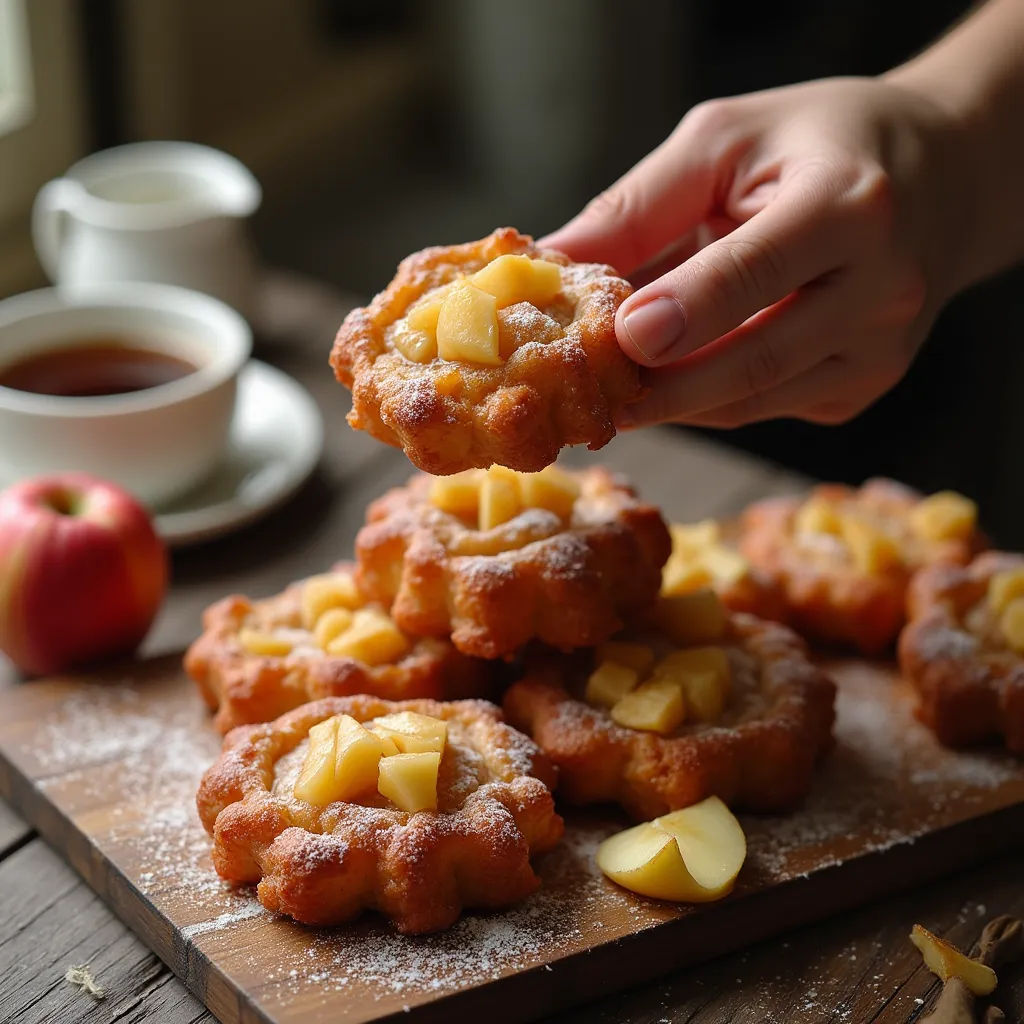
Gradually add the wet ingredients to the dry ingredients, stirring until just combined. Be careful not to overmix, as this can make the fritters dense. Gently fold in 2 medium diced apples (peeled and cored) to distribute them evenly throughout the batter.
Step 5: Scoop and Shape the Fritters
Using an ice cream scoop or a large spoon, drop portions of the batter onto the prepared baking sheet. Space them about 2 inches apart to allow for spreading. Gently flatten each mound with the back of your spoon to ensure even baking.
Step 6: Bake to Perfection
Place the baking sheet in the preheated oven and bake for 15-18 minutes, or until the fritters are golden brown and a toothpick inserted into the center comes out clean.
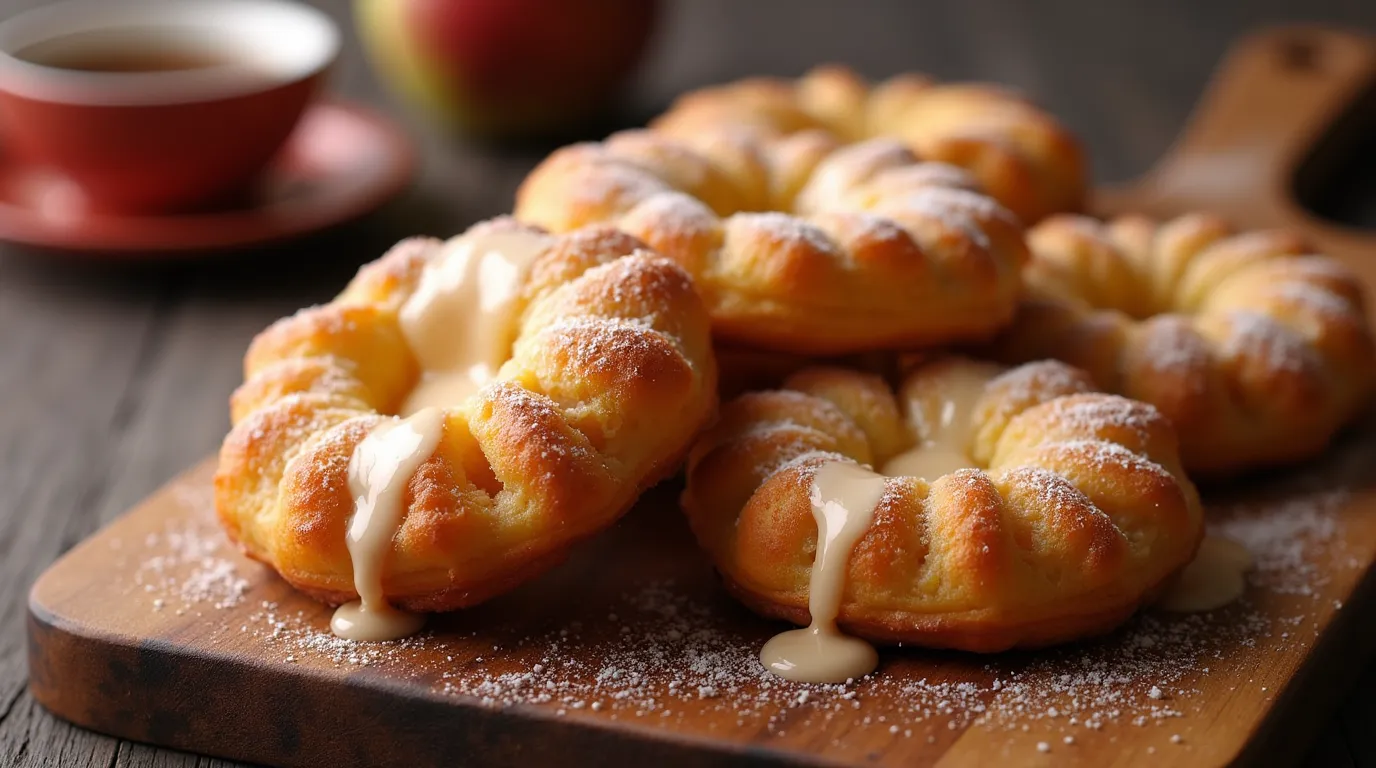
Step 7: Prepare the Glaze (Optional)
While the fritters are cooling, you can prepare a simple glaze. Mix 1 cup of powdered sugar, 2 tablespoons of milk, and 1/2 teaspoon of vanilla extract in a small bowl. Drizzle the glaze over the cooled fritters for an extra touch of sweetness.
Step 8: Let Them Cool
Allow the fritters to cool on a wire rack for 5-10 minutes. This helps them set and ensures they’re easy to handle.
Step 9: Serve and Enjoy
Serve your baked apple fritters warm with a cup of coffee, tea, or a glass of milk. They’re perfect for breakfast, dessert, or a snack.
Step 10: Store for Later
If you have leftovers, store them in an airtight container at room temperature for up to 2 days or in the refrigerator for up to 5 days. You can also freeze them for up to 3 months. Simply reheat in the oven for 5-10 minutes to restore their crispiness.
Tips for Perfect Baked Apple Fritters

- Choose the Right Apples: Tart apples like Granny Smith or Honeycrisp work best, as they hold their shape and provide a balanced flavor.
- Don’t Overmix the Batter: Overmixing can lead to dense fritters. Stir until the ingredients are just combined.
- Adjust Baking Time: Oven temperatures can vary, so keep an eye on your fritters during the last few minutes of baking.
- Add a Sprinkle of Powdered Sugar: For an extra touch of sweetness, dust your fritters with powdered sugar before serving.
Frequently Asked Questions (FAQ)
Can I make baked apple fritters gluten-free?
Yes! Substitute all-purpose flour with a gluten-free flour blend. Ensure the blend contains a binding agent like xanthan gum for the best results.
Can I freeze baked apple fritters?
Absolutely! Freeze them in a single layer on a baking sheet, then transfer to a freezer-safe bag. Reheat in the oven at 350°F (175°C) for 5-10 minutes.
How do I prevent my fritters from becoming soggy?
Ensure your apples are diced small and avoid overloading the batter with too much liquid. Properly cooling the fritters on a wire rack also helps maintain their texture.
Can I add other fruits to the recipe?
Yes, pears or berries can be a delicious addition. Just make sure to adjust the sugar levels if your added fruits are particularly sweet.
Conclusion
Making perfect baked apple fritters at home is easier than you think! With just a few simple steps, you can create a healthier, equally delicious version of this classic treat. Whether you’re baking for yourself or sharing with loved ones, these fritters are sure to impress. So, roll up your sleeves, preheat that oven, and let the sweet aroma of baked apple fritters fill your home. Happy baking!